

Photographing the northern lights, or Aurora Borealis, is a dream for many night sky photography enthusiasts. Capturing this natural phenomenon requires a combination of the right equipment, ideal weather conditions, and specific camera settings. In this guide, we will walk you through the essential steps to help you photograph the northern lights successfully.
Choosing the right camera and equipment
To photograph the northern lights, you need a camera that allows for manual settings adjustments. A DSLR or mirrorless camera is ideal due to their ability to handle low-light conditions and provide high-quality images. Ensure your camera has a wide-angle lens with a fast aperture (f/2.8 or lower) to capture as much light as possible.
A sturdy tripod is essential for northern lights photography. Since you will be using long exposure times, any camera movement can result in blurry images. A remote shutter release or intervalometer can also be beneficial to avoid camera shake when taking long exposures.
Additionally, consider bringing extra batteries and memory cards. Cold weather can drain batteries quickly, and you don’t want to miss out on capturing the perfect shot due to a lack of storage space.
Understanding ideal weather conditions
Clear skies are crucial for photographing the northern lights. Cloud cover can obstruct your view of the aurora, so it’s essential to monitor weather forecasts and choose nights with minimal cloud cover. Websites and apps that provide aurora forecasts can help you determine the best times to head out for northern lights photography.
Light pollution can also affect your ability to capture the aurora. Aim to find a location far from city lights to ensure the best visibility. The darker the sky, the more vibrant the northern lights will appear in your photos.
Winter months, particularly from September to March, offer the best chances to see the northern lights in northern Finland. During this period, the nights are longer, providing more opportunities to capture the aurora.
Mastering the art of long exposure
Long exposure photography is key to capturing the northern lights. Start with an exposure time of around 10-20 seconds. This allows enough light to enter the camera sensor, capturing the movement and colours of the aurora. Experiment with different exposure times to find the best results for your specific conditions.
Using a low ISO setting (around 800-1600) can help reduce noise in your images. However, you may need to adjust the ISO depending on the brightness of the aurora and the ambient light conditions. A higher ISO can capture more light but may introduce more noise.
Set your lens to manual focus and focus on a distant light source or the stars. Autofocus may struggle in low-light conditions, so manual focus ensures your images are sharp. Use the live view mode on your camera to zoom in and fine-tune the focus.
Best locations to photograph the northern lights
Northern Finland is one of the prime locations for northern lights photography. The remote and dark skies of Lapland provide an excellent backdrop for capturing the aurora. Aurora Queen Resort, with its glass-ceiling igloos and panorama suites, offers a unique vantage point for observing and photographing the northern lights.
Other popular locations include Norway, Sweden, and Iceland. These regions are known for their frequent and vivid aurora displays. When choosing a location, consider accessibility, weather conditions, and the level of light pollution.
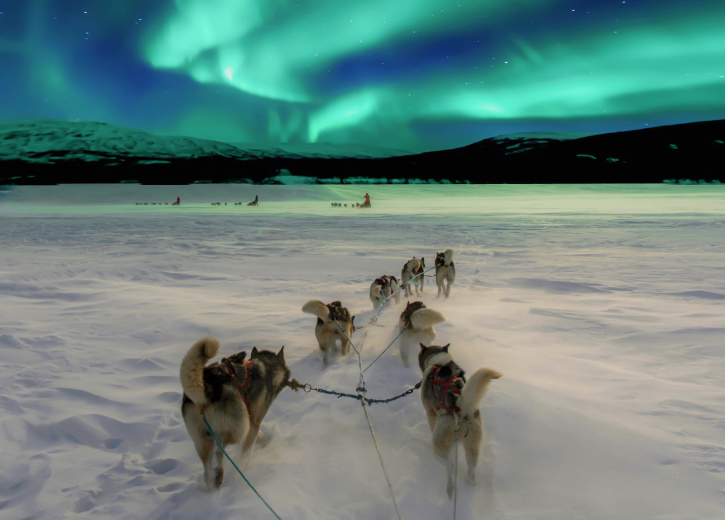
Local guides and tours can also enhance your northern lights photography experience. They can take you to the best spots and provide valuable insights into capturing the aurora. At Aurora Queen Resort, we offer guided snowmobile tours and other activities to maximise your chances of witnessing the northern lights.
Camera settings for capturing the aurora borealis
Setting your camera correctly is crucial for successful northern lights photography. Start with an aperture of f/2.8 or lower to allow maximum light into the camera. This helps capture the vibrant colours and details of the aurora.
As mentioned earlier, an exposure time of 10-20 seconds is a good starting point. Adjust the exposure time based on the intensity and movement of the aurora. Shorter exposures can capture more defined shapes, while longer exposures can create a more ethereal effect.
White balance settings can also impact your photos. Set your white balance to daylight or auto to capture the natural colours of the aurora. You can adjust the white balance in post-processing if needed.
Finally, shoot in RAW format to retain the maximum amount of detail and flexibility in post-processing. RAW files allow you to adjust exposure, white balance, and other settings without losing image quality.
By following these tips and techniques, you can enhance your chances of capturing stunning photographs of the northern lights. Whether you’re staying at Aurora Queen Resort or exploring other northern regions, the magic of the aurora borealis awaits your lens.